In last month’s column, I addressed using ultrasonic scaling equipment during dental cleanings. This month features hand instrumentation and proper polishing that should occur after every dental scaling.
Hand scaling
Hand instruments utilized for cleaning teeth can be categorized into scalers and curettes. Scalers are designed for use on the tooth crown, and curettes are designed to be used subgingivally.
Successful use of hand instruments is dependent on knowledge of principles of instrumentation. Hand instruments consist of three parts: the handle, the shank, and the working end.
The handle contains the instrument’s identification. Scaling instrument classes include curettes, sickles, files, and hoes. Use of hollow, wider handle sizes minimizes hand fatigue and increases tactile feel.
The shank connects the handle to the working end. The curvature of the shank determines the location for use of the instrument in the mouth. A straight shank is used for rostral teeth; an angled shank is used for caudal teeth. When the shank is bent to form an angle, the terminal shank refers to the portion below the bend, closest to the working end.
The working end of a hand scaling instrument is called the blade, and it has several parts: the two lateral sides, the face, the back, the heel, and the toe or point. The face and lateral surfaces meet to form a cutting edge. The back is formed by the convergence of the two lateral surfaces. Instruments used for supragingival scaling have a pointed tip, whereas subgingival scalers, known as curettes, have a rounded tip. The tip of a curette (known as the toe) is designed to minimize trauma to the soft tissue lining the sulcus or pocket.
The angulation of the face of the blade in relation to the terminal shank will classify the instrument as universal or area specific. To determine this classification, position the instrument handle so the terminal shank is perpendicular to the floor, then identify the face.
If the angle between the face and the terminal shank is 90 degrees, the instrument is universal: the handle is placed parallel to the long axis of the tooth, and then is slightly tipped left or right to permit either cutting edge to be adapted to the tooth. If the face is offset at an angle of 60 to 70 degrees, as in Gracey curettes, the instrument is area specific, and only one of the cutting edges may be adapted to the tooth.
Supragingival scalers
When the handle, shank, and blade are on the same plane, the instrument is designed for use toward the front of the mouth. For caudal teeth, the shank will be angled, and the instrument will be double-ended to provide mirror images.
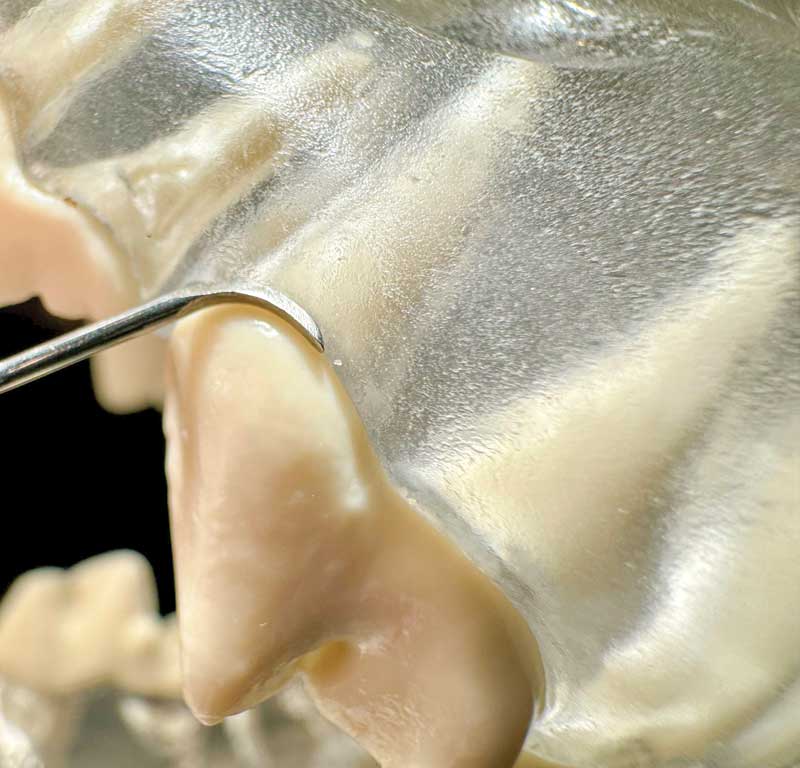
When the blade is placed against the tooth, the face should be at an angle between 45 degrees and 90 degrees with the tooth surface. The cutting edge is directed to the apical edge of the calculus and pressure is placed against the tooth. The instrument is used with a short pull stroke to disengage the debris.
Subgingival curettes
Curettes may be used for supragingival scaling, although they are designed for subgingival curettage and root planing (cleaning off the surface of the root). The flat face is curved lengthwise from the heel to the toe, meeting the lateral surfaces to create a cutting edge that extends around the toe.
Unlike the flat lateral sides of the sickle scaler that converged to form a pointed back, the sides of the curette are rounded, creating a round back that is easier to insert into a sulcus or pocket. The cross section of the curette is classically shaped like a semi-circle with internal angles of 70 degrees to 80 degrees between the face and lateral surfaces.
A universal curette can be adapted for all surfaces of the teeth, whereas use of an area specific curette would require several different instruments to scale each tooth in the mouth. Use of area specific instruments is an advanced concept, and they should be used by operators who understand the inherent design features and a thorough knowledge of root anatomy and shape. Incorrect use of an area specific instrument can cause trauma to the hard and soft tissues. Therefore, I usually recommend universal curettes for most practices.
When an area-specific curette is used, the proper cutting edge is the lower edge, as determined by holding the terminal shank perpendicular to the floor. The terminal shank of an area specific curette is kept parallel to the long axis of the tooth during a vertical scaling stroke. In contrast, with a universal scaler, the handle is kept parallel to the long axis of the tooth during a vertical scaling stroke.
Principles of scaling
Adaptation of hand scaling instruments involves applying the cutting edge against the tooth. As the curvature of the tooth changes, adjustments must be made to that portion of the cutting edge adaptable to the tooth. Using the thumb against the handle will enable the instrument to be rolled to maintain the contact of the cutting edge around curves.
Angulation refers to the relationship of the face of the instrument to the tooth. When a curette is inserted into a pocket, the angulation of the face should be as close to zero as possible. In this position, the face would be parallel with the root surface, and the back of the blade would be against the soft tissue lining of the pocket.
When the blade is positioned at the bottom of the pocket or apical to the intended piece of calculus, the angle should be opened by tilting the handle to an angle between 45 and 90 degrees. Using an angle that is too closed will cause burnishing (smoothing) of the calculus, rather than biting into it for removal. An angle that is too open will place the noncutting edge sharply against the lining of the pocket when a curette is used. This technique is useful when the operator deliberately desires to perform gingival curettage. Apply the minimum number of strokes necessary to accomplish the task.
Polishing
Polishing teeth is an important step that should never be overlooked, since the process of removing calculus creates microscopic scratches on the surface of the enamel. Just as an overheated ultrasonic scaler tip can cause thermal damage to a tooth, excessively high RPMs of the prophy cup can cause thermal damage. Depress the pedal to only approximately one-quarter of the total possible power of a low-speed prophy angle.
John R. Lewis, VMD, DAVDC Fellow, AVDC OMFS, practices at Veterinary Dentistry Specialists and teaches at Silo Academy Education Center, both in Chadds Ford, PA.
Reference
- Miller BM, Lewis JR. Veterinary dentistry. In: Bassert JM. McCurnin’s Clinical Textbook for Veterinary Technicians, 9th ed. Elsevier; 2018.